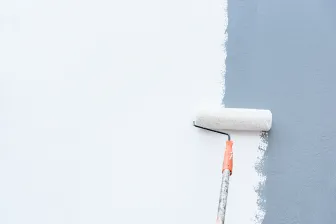
Specifically, I want to go over ways on how to paint the interior of your home and to do this in a timely manner. The best, cleanest, fastest and funniest ways possible is what I want you to take away from this blog by the time you are done reading. I like to prep and paint because when I think about this topic, it makes me feel as if I am growing up and accomplishing a task, I never saw myself being a part of. To paint the walls inside of your first home is exciting and a feeling you only get to enjoy once in a lifetime. Who knows, you might find a career or hobby into painting and prepping like I have.

The Most Important Step:
Prep. Always Prep first. Prepping is the most important step in painting. I promise you that this will save you time, money, cleanup and a struggle in the long run. Please do not feel discouraged if this takes a long time and is tedious work. When it comes to the process when you actually start to paint, this will go by 5x faster. That is a promise. You do not have to deal with a mess or worry about getting paint where it is not supposed to be. Also, if an accident happens, the protection you have prepped for will result in an easy clean up with no serious damage or mess. In my personal experience, this came in very clutch as I spilled over a gallon of paint onto my hardwood. Luckily, I had ripped up cardboard underneath and taped up. This saved me so much money by just cleaning up with rags and not replacing the original hardwood.

Materials (Brushes, Paint, Trays, Etc.):
To prep you are going to need tape. You can find this at Home Depot, Lowes or any local hardware shop. You will also need to cover your surroundings. Think of it as wherever you do not want paint to touch, cover it. You can use tape to trim around your floor board, ceiling and side molding. You can also save money in this process by tearing up old cardboard boxes you might have or plastic. Use these to cover your floor and tape around the edges so there is a clear cut. This will help you paint fastwe when it comes time to pull out your roller. The tough to reach areas will already have been taken care of.
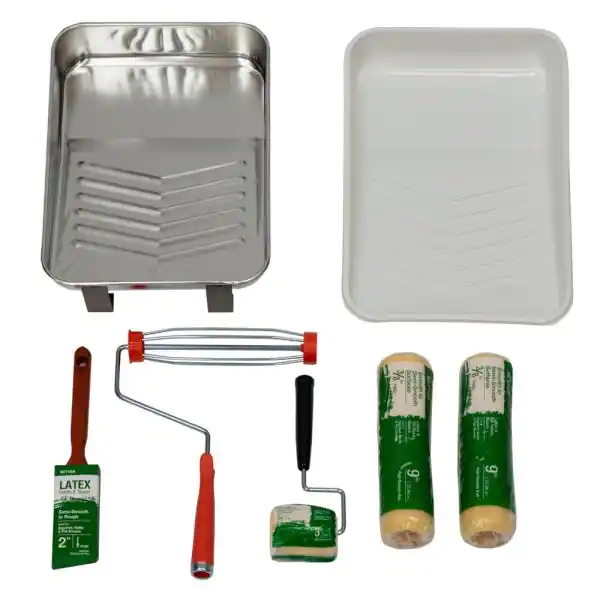
Now for the fun part. Paint. You can also find this material at any Home Depot, Lowes or hardware store need you. Do you research and make sure you know what brand or material you like. Behr is my favorites brand but again, this is up to you. Typically two coats will work great on a wall but with certain brands like Behr, one coat is enough. You will need a brush and roller. Any size is okay. In my experience, medium is the best for a brush and roller. Also, a try to pour and evenly spread your paint in. This will save you time when you need more paint on your brush or roller. Do not forget your stick to mix the paint first! This step is very crucial as it will evenly mix the paint and its materials as it was sitting for awhile. Do not worry, this is not like expired paint. Mixing the paint just helps the color and strength be at its fullest potential.
At this point you are ready to paint. Do not forget to throw on clothes you do not mind getting dirty. Old jeans, sweater or shirt with a cap to protect your head and hair. Also, safety goggles are recommended to protect your eyes. This came in handy for me multiple times. A mask is optional but if you properly have a nice airflow through your house, you should be okay. Make sure to open up your windows and have a fan running if possible.
Time To Paint:
If you have reached this far in the article, congratulations. We are best friends. This step of the process if the best part, painting. Do not worry and do not be nervous. At this point you are passed prepping and and prepared for the fun. I hope your safety glasses are one because we are going to have some fun.
- With your brush, start but painting every edge and corner. That means up towards the celling, corner intercepting walls and the bottom wall that touches the molding. This step will help when you are using your roller.
- Now that all of the edges and corners are touched, you can use your roller. Rule of thumb, never have your brush or roller dripping paint. That is what the tray is for. Slightly roll up on the try until there is an even spread of paint on your roller. This might look like it is not enough of paint but the most important thing to remember is that it is about what the aftermath looks like, not the process during. You are recommended to use light coats and roll back and fourth instead of a a heavy patch.
- My favorite method was going up and down with the roller. Where we painted our edges first, is our goal on where to start and end with the roller. Those tough spots are already taken care of. With going up and down, you go over the parts of the wall you might have missed. Zig zag works too.
- After letting your paint dry for 24 hours, you repeat this process. Once another 24 hours go by, you are good to remove the prep work you worked so hard doing. As you can see, your floor and belongs are not ruined or damaged from your paintjob. Some people like to remove the tape as your paint is drying but I just wait until the end, when everything is official dry.